The first thing we need to do is to install the OBS Websocket plugin in OBS. As mentioned above, if you are on OBS 28 or later you can skip this step as it will be already available in OBS 28 by default. Touch Portal requires the plugin to be able to control OBS from Touch Portal. Ensure you have closed both OBS and Touch Portal to make the installation process go without issues.
Download version 4.9.1 of the Palakis Websocket or any of the new versions 5.0+ and install it. Scroll down on that page to see the list of installers for Windows, Mac or Linux. Follow the instructions to install the plugin.
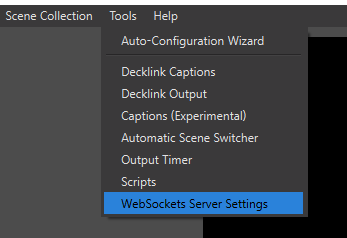
We will now start up OBS. When OBS has started open the Tools menu and click on the WebSockets Server Settings option on the bottom.
In the settings for the websocket plugin, ensure the same settings as the image below. Websocket 5.0+ uses different ports. Ensure you match them in the Touch Portal settings as well. For now we turn off the authentication. When you have walked through this guide and checked everything connected just fine, you can turn on the authentication. Also make sure you have checked the Enabled WebSocket server option.

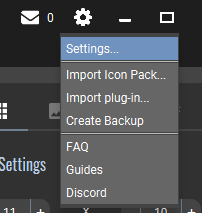
Now we have set up the plugin lets start Touch Portal. In Touch Portal open the settings screen.
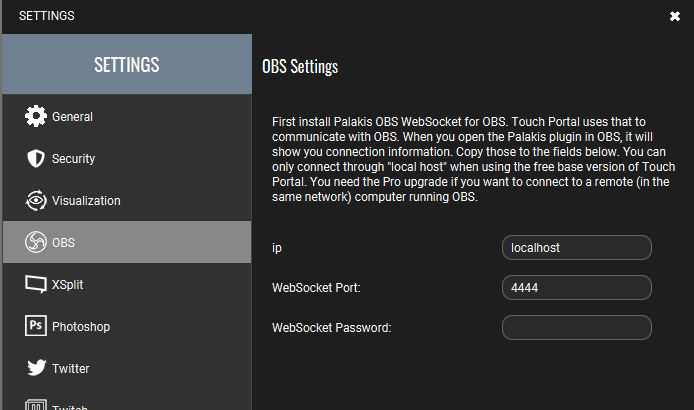
In the settings screen open the OBS section. And ensure you have used the same settings as in the image. Again, ensure you are using the same ports as the plugin showed in OBS. For 5.0+ this will probably be 4455 instead of 4444.
Save and close the settings and continue with step 4.
In Touch Portal, open a button and add the following action to it:
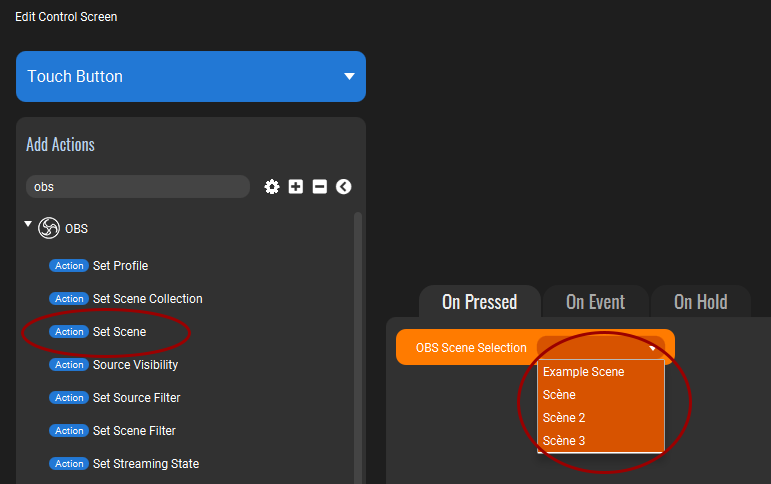
The dropdown listbox of that action should now contain your scenes from OBS.
Touch Portal allows you to set up the connection to OBS with ip addresses when you have the Pro upgrade. This means that if you want to control OBS on a different computer you only need to change the ip from 'localhost' to the ip of the computer running OBS. Of course you need to install the Palakis websocket plugin as described in the previous steps on that remote computer to be able to connect to that instance of OBS.
You have now connected OBS with Touch Portal and can begin with adding OBS actions to your buttons and events. Be sure to also check our other OBS guides